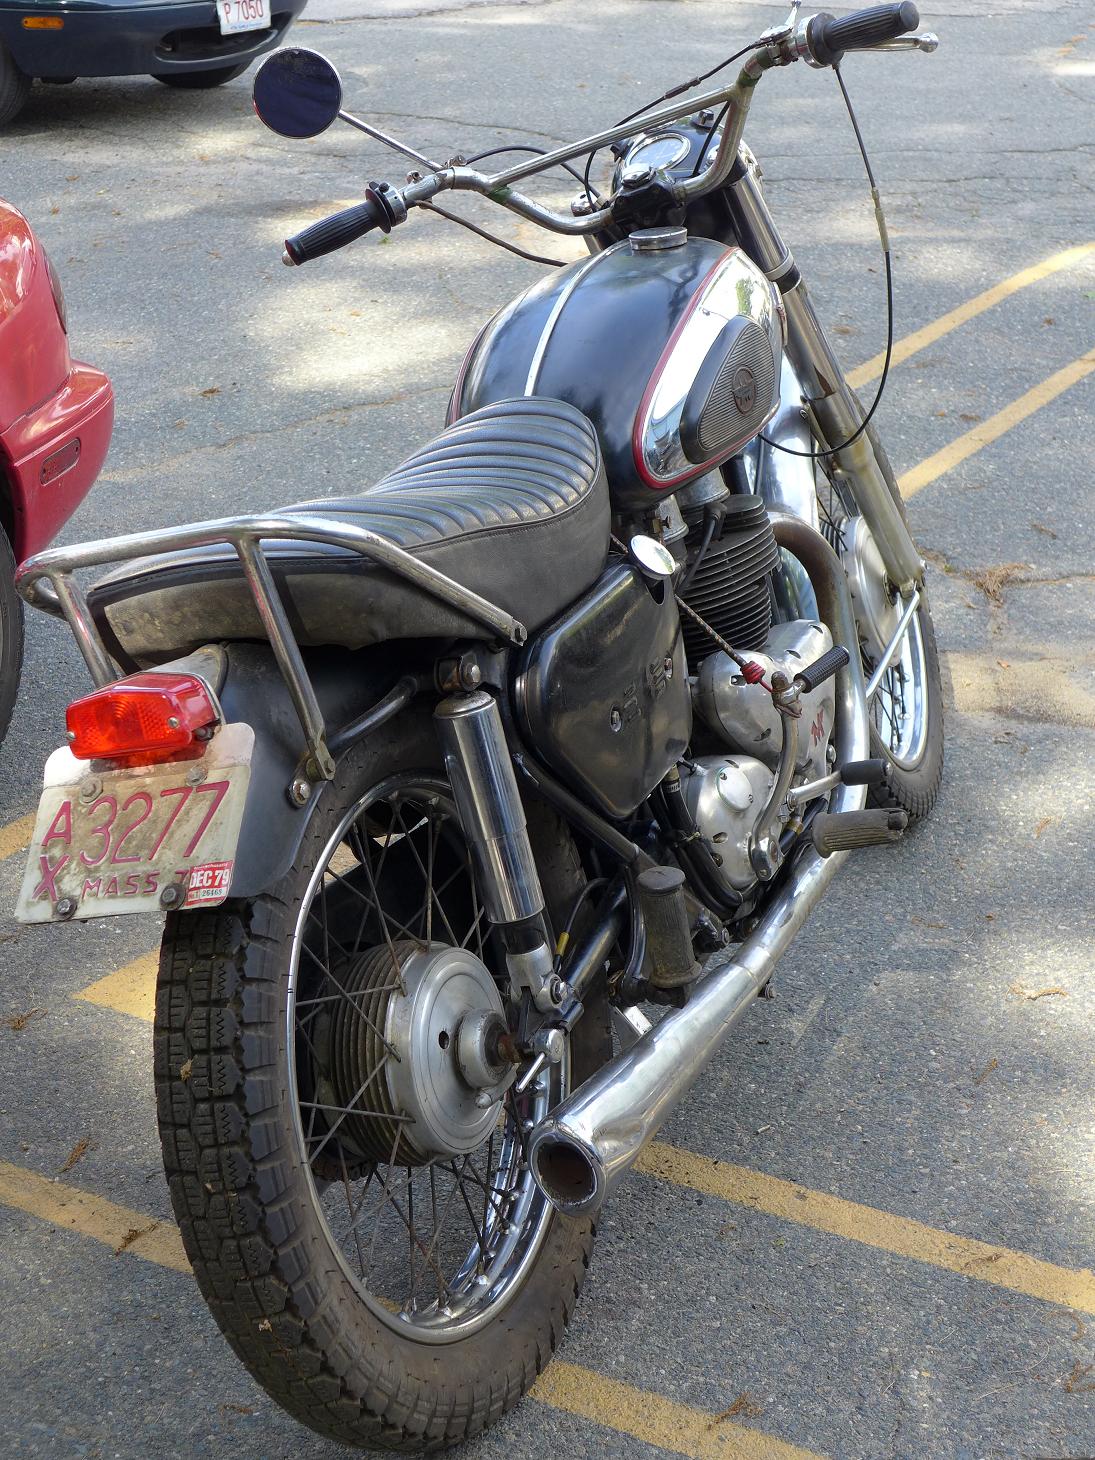
Having a few days free due to the holidays can help get things out of the way and let the mind prepare for the spring season. On the MSS the headlight stopped working on both the high and low beam at the end of the season. The MSS winters on the pathway to the basement ice box and each journey brings forth the reminder to 'get on to it' for spring chores.
After giving the kick starter a shove to change the piston set I got onto looking at the bulb. Both filaments were ok which got me to believe that there were gremlins in the wiring. Though the headlight harness connections needed a tending to no gremlins were found. It seems as if the bulb had the short circuit within the base.
A few searches on the interweb pulled up either bulbs of faraway lands or exorbitant prices; I'd converted the MSS to a 12volt Halogen but wanted to retail the original British Pre Foucs base. Since the filaments tested fine, it seemed that all one had to do was de-solder the base and re-solder. This all worked out just fine but a cool discovery was made... I could use a inexpensive H4 bulb of the same wattage, remove it from its base and solder it into the old BPF base if need be. A good thought if one was to be stuck on the side of nowhere and needed to re-create the wheel in 3 hours.

later in the week I dug back into the scrambler. The next chore to tackle was the rear axle. I'd been soaking the outer bolt section for a few days. With a socket tapped on and a large breaker bar, the axle shaft broke free and was able to be worked back and forth until it had smooth rotation. The six nuts that held the hub onto the brake drum were stuck. With a different approach; compressed air and an impact hammer made short work of them.
The magneto had to come out so give grips could be used on the lower head bolt socket. It generally came apart easy to reveal more work will be needed. Almost no polarity was felt in the body and the grounding brush was MIA.
On the head side of things, the valve guides are a tad sloppy. This caused the more wear on the seats than I would have liked to find. On the whole, the heads really need a full service but having a seat cutter on hand helped to having a go at it. the exhaust was very much out of round and extremely pitted. Now educated- there really is no point it trying to cut back the seats with sloppy guides.
Not able to find a valve grinding machine locally and well knowing this needs fresh valves, I had a friend cut the valves on a lathe. After using some bluing on the faces they seems not too far off. A quick run with some fine lapping compound they were good enough to see if some compression was restored.
With the old head gasket as it was, everything was put back into place and ready to kick over. The valves needed a minor adjustment and the compression gauge installed we were getting a bit or resistance and 60psi on the meter. In fact, the resistance was as good as my other Velos. If was a bloke in England, knowing well on that the machine needed to be ready for work tomorrow, it would have been ready to go. But the head needs better service and a more professional person to view the seats.
 |
| Ready for compression test |
 |
| Removing valves again |
The last thing for the day was to pull the barrel and piston. I'd been both looking forward and holding off on this job. Not wanting to disturb the rings and allows foreign matter into the crankcase I'd been holding off removing the barrel. But there probably is no better time to visually inspect the piston and barrel. The plus would be to inspect the conrod feel and play. So far everything looks and feels way better than the head.