I would like to state anyone that has not read the previous posts, we are installing a 1.8 transverse Protege engine in a 1.6 Miata... things are not always what the seem.
So here will be a few things to consider and some key points to making this painless.
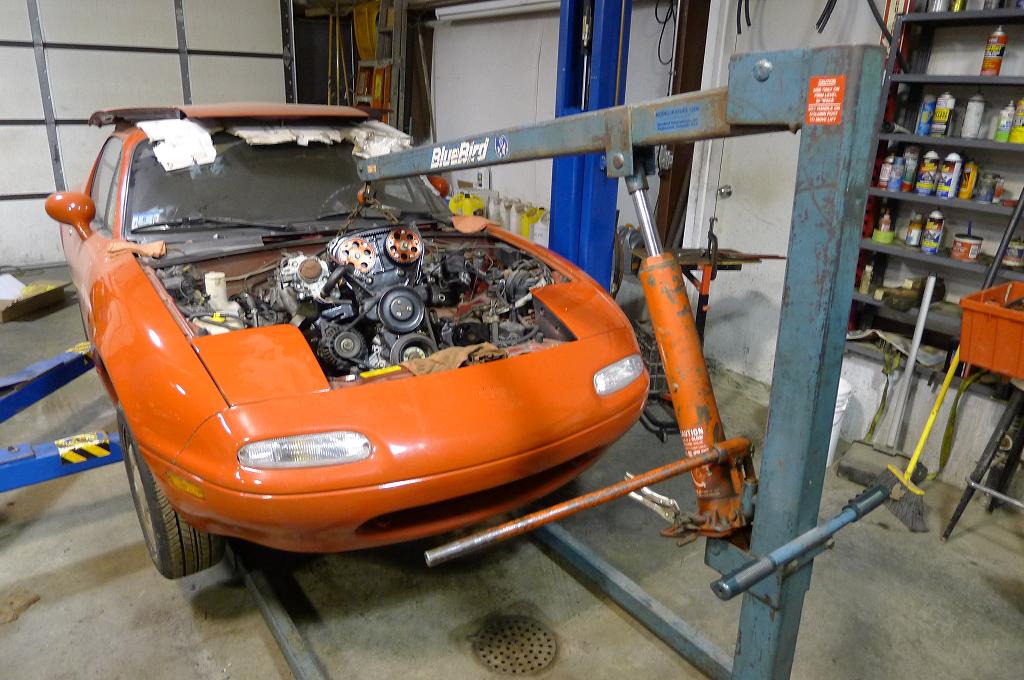
 You should remove the valve cover to give extra clearance for the header to drop down in between the chassis and the trans. It is very tight to make it fit. We were considering disconnecting the steering shaft to slide the header in but it was well rusted up. so we loosen up the three transmission bolts to allow the trans to float up and down. Then the nut and washer were removed from the driver's side engine mount. At this point a jack with blocks of wood just big enough to fit on the oil pan was rolled under to jack the engine up enough to spread the distance of the space between the steering shaft, chassis and bell housing.
 One it was fitted in and the bolts were snugged up, the header was hitting the corner side of the floorpan/firewall. This was going to cause problems of all sorts. So two choices are this; dish the pipe in or dish the floor in. Our header is stainless and it would be doubtful that we'd do enough to make the difference. On an added point, dishing in the floor pan helps with the installation. We used an air hammer with a one inch head. it fits in easy. work it on the sharp edge; a little at a time and go slow. Once the sharp edge is pushed in it becomes easier to push more metal in. Though it might be possible to do this on your back with a regular hammer... the air hammer really is your best friend.
 At this point it is a good idea to do your trans fluid if its a manual. the fill will be right behind the header in the future so now would be a really good time with no header in the way. After that is done make sure to tighten up the driver's side engine mount; support the transmission and tighten up the trans support and replace the valve cover gasket. Give a once over to your bolts and your mostly done.
 One other note is that the O2 sensor is father down the header than a stock header. What we will do with this as we've done with the other Raceland header was extend the harness side of the O2 sensor. Take the time, solder a section of wire into it to give extra length leaving the factory O2 connector in place. Use shrink wrap tubing to seal it up; you don't want corrosion getting in there and changing the resistance.