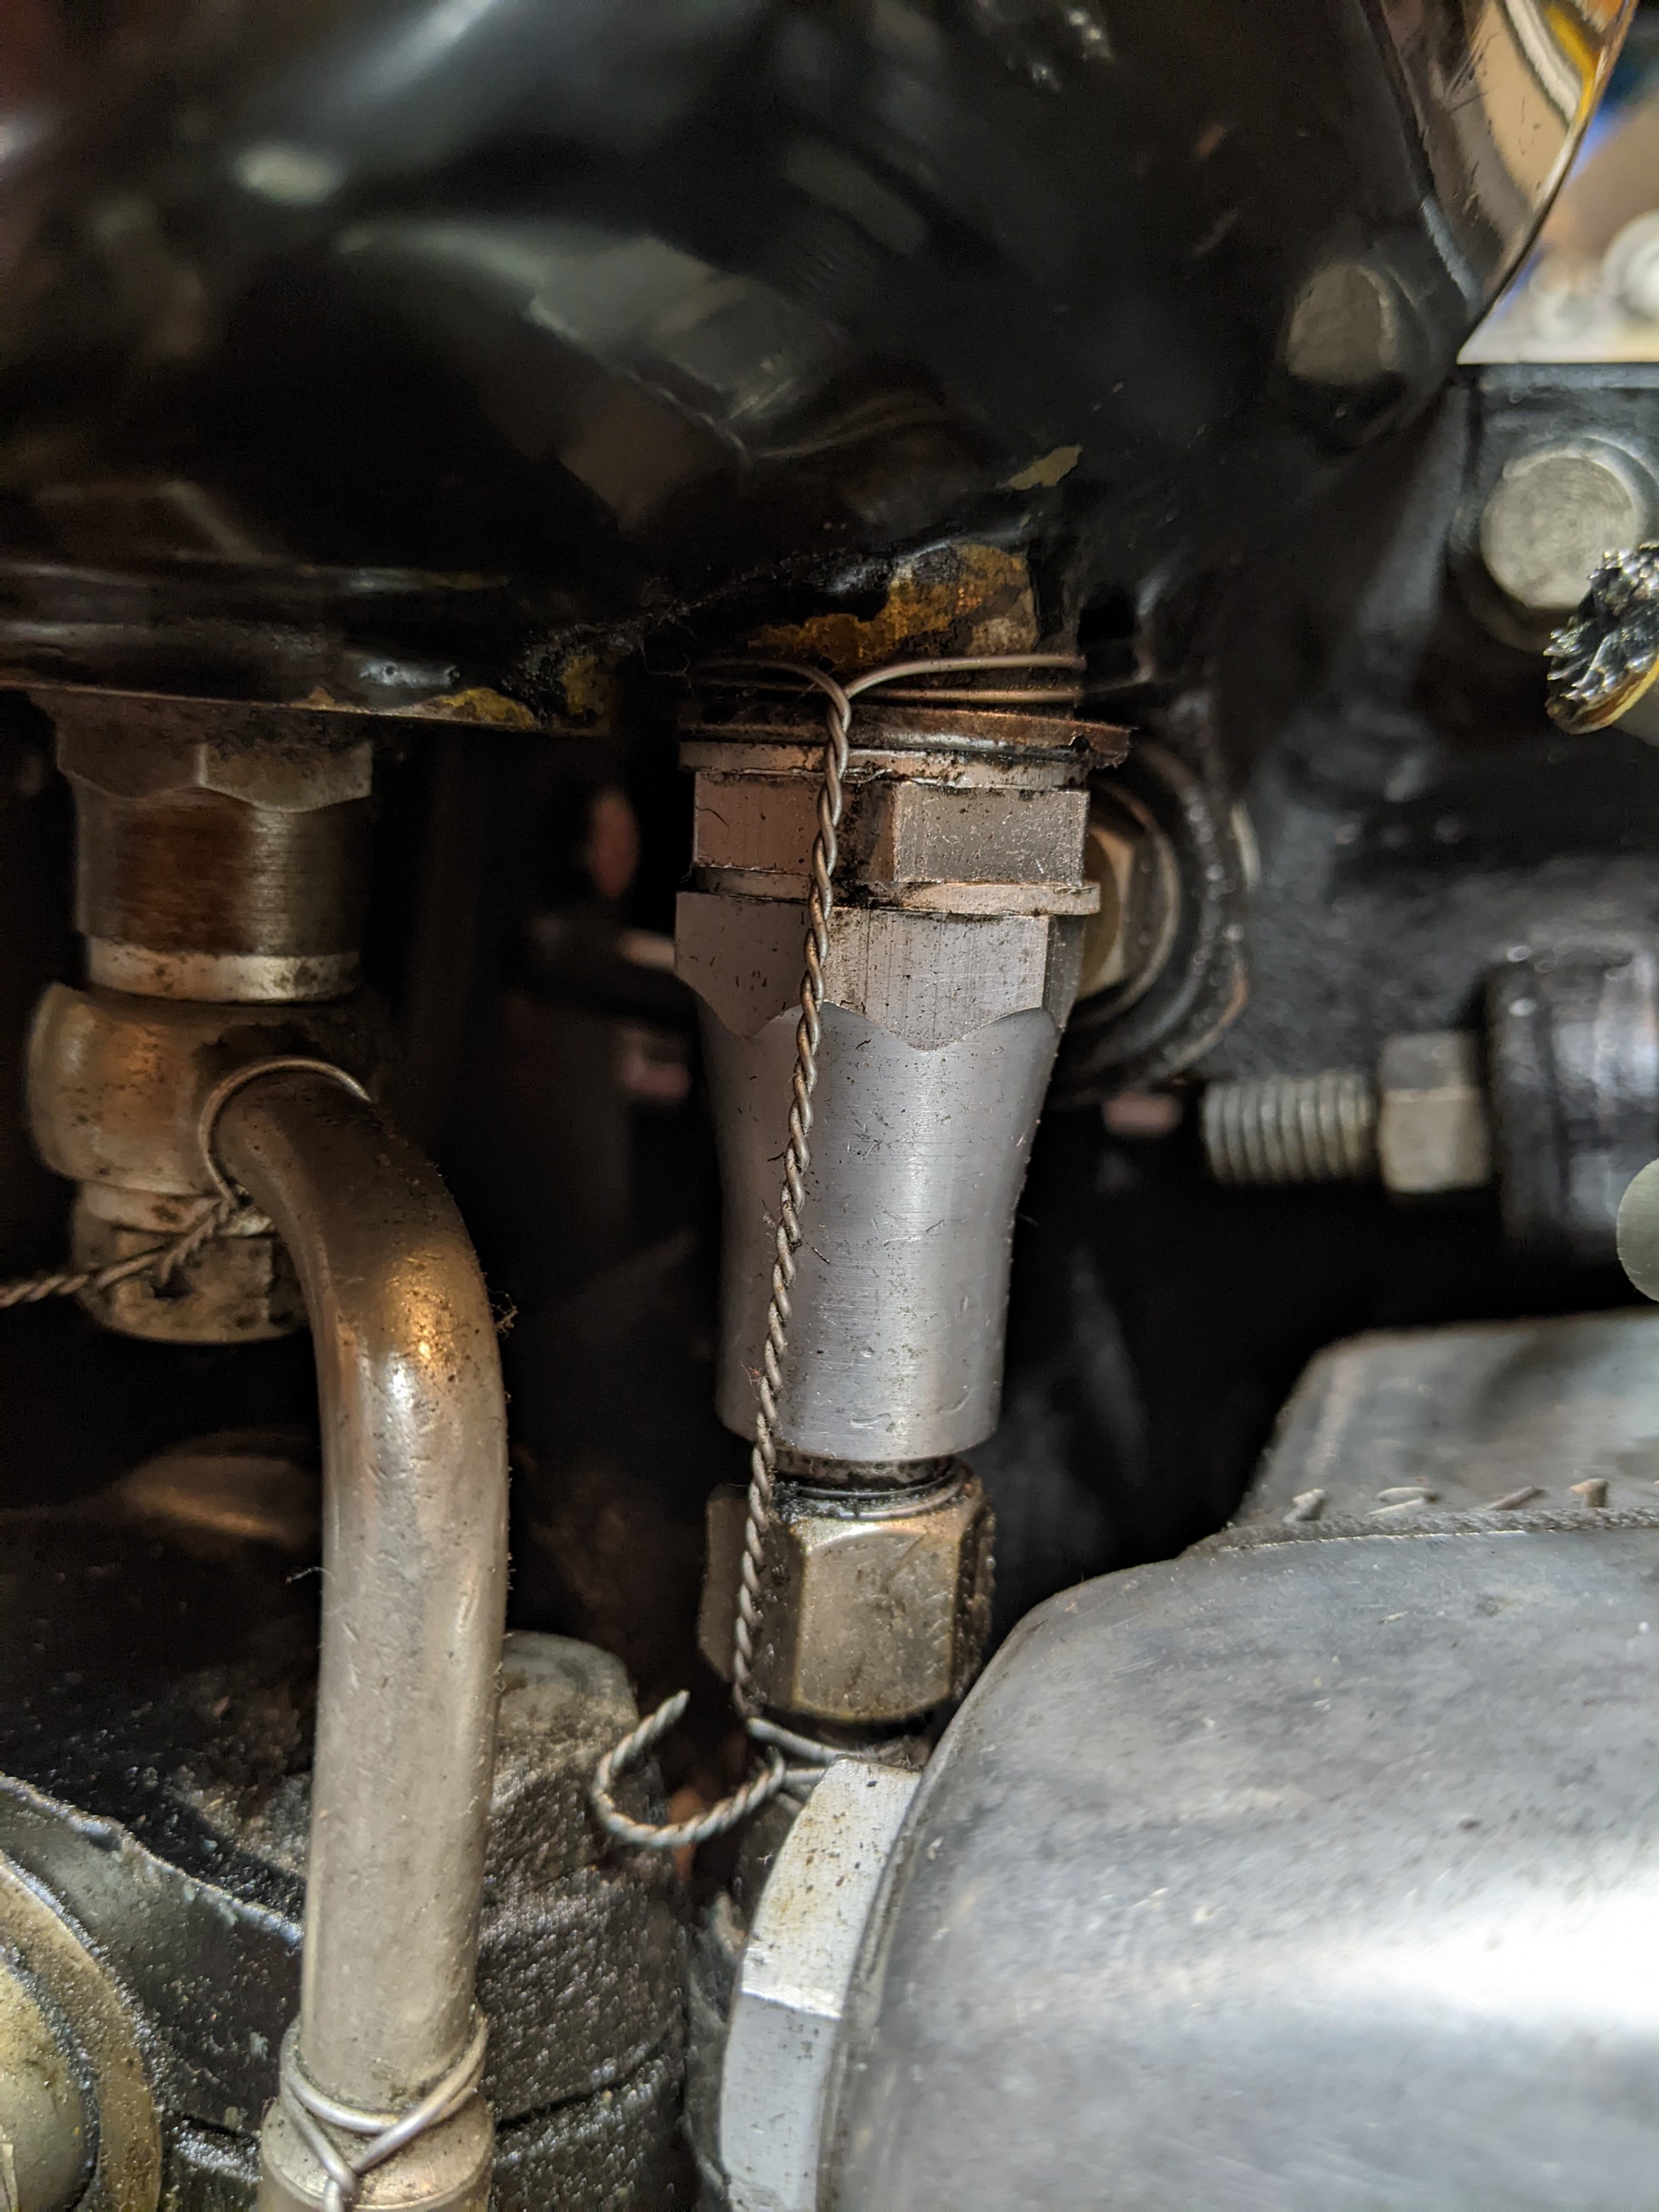
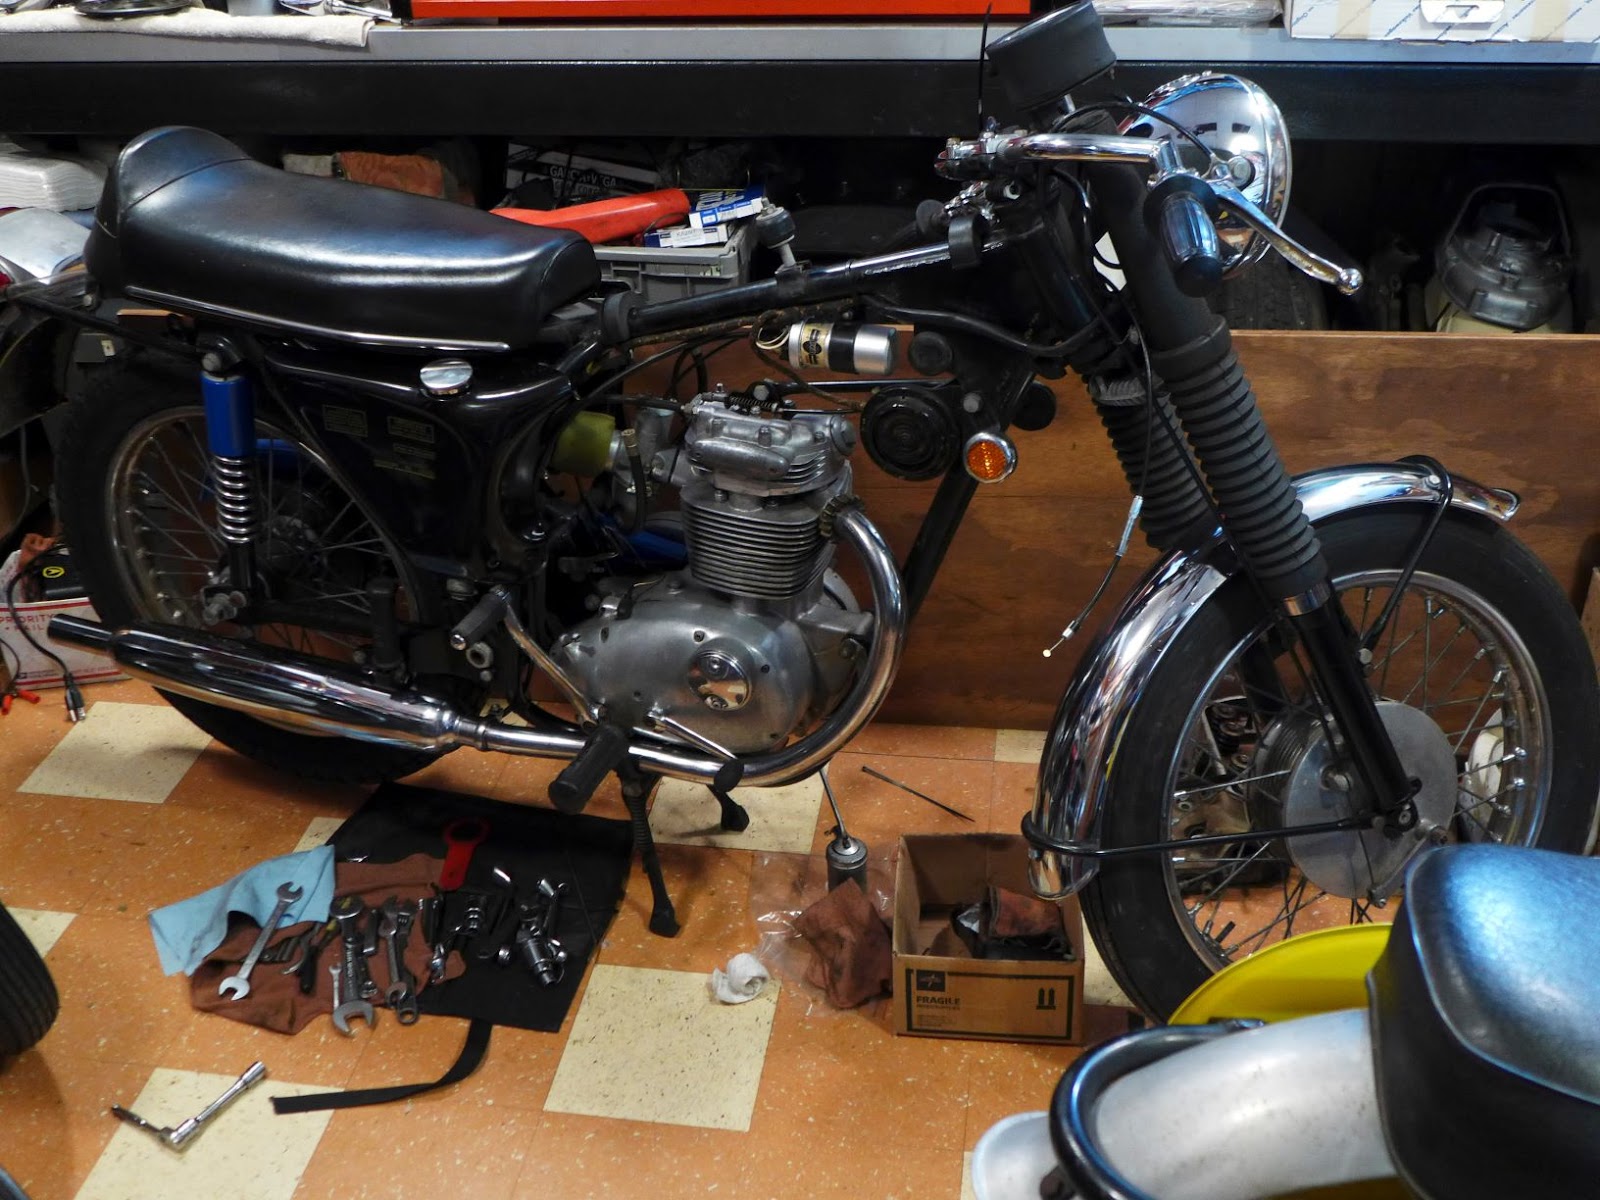
Not much work was done to the Velo this week. I'm trying to figure out which task to work on next. Possibly it will be the front end, as the clip on handlebar needs replacement. To do that will mean pulling the front end apart. That would also be a good time to change the front wheel, reinstall the front fender and install the lower fairing. However, I'm not sure that it's finished enough to have the fairing reinstalled. Trying my best to balance tasks to a minimum. But in the interest of the Thruxton's past history, it had been safety wired tied for racing. Here are a bunch of pictures of such as it stands. Most of this wire will need to be changed out and redone. Enjoy.
Showing posts with label Fabrication. Show all posts
Wednesday, January 11, 2023
Sunday, January 3, 2021
Back into shimming the Velocette MSS case
Had another go at shimming up the spare MSS engine last night. Without shims under the race, I was getting an indication of about 0.006".
After a bit of quadruple checking it; seems that the next move would be to add one of the shims that came out of it and see what the results will be . Some of the reasons for this whole exercise, apart from the self educational standpoint; this engine had been sitting in a basement for 26 years, the cases had a cork gasket between the halves. As far as I've been told, Velocette didn't seal the case halves with gaskets.
Before getting on with heating up the case I needed to modify the block of aluminum I had cut to fit on the race. It was meant to have a weight on top to hold the race seated, keeping it pushed into the case while it cooled. Rather than a weight, I drilled a hole so it could be bolted up to keep pressure; insuring the race was seated in the case and on the shim. From there, pulled out the burner assembly, set the case half on it and gave it a go.
While waiting for the the whole lot to cool and settle (I'll check it tomorrow) I took some time to goof with making a few pins that might help with the installation of the oil pump, when that time comes.
Nothing special about them, a section of 3/16" rod threaded on one end and the other a slot cut in case they prove to be difficult to remove after a pump has been installed. whether this idea will work, no idea. My reasoning was to keep the twisting of the pump to a minimum during installation. Worst case, the pump body could jam on the pins. I did a check in the reverse direction to test the base fitment on the pins with the base alignment to the case.
Wednesday, December 30, 2020
File this under something new
An attempt at loading a blog up from the phone. After seeing Ed G's file setup from his shop tour,I thought to make one last night. Now its a matter of where to hang it.... No real wall space.
Friday, January 24, 2020
1968 BSA B25 Starfire top end
About a year ago a good friend set me up with a seized baby beeza. It looked pretty cool with ace bars and being a single it got my mind going. However, it was sidelined for a time as other projects were in front of it.
With a lull brought on by the winter weather I started to focus on projects that had been hanging around cluttering the workshop. Going down the list, many of the projected machines still lacked parts to complete before spring. The only two viable machines were the S90 Honda in bits and the complete B25 with a stuck engine.
So ripping the top end off the BSA to find why seemed the easiest action. It was in fact, relatively easy. Withe the exception of the proper wrench for the head nuts. No matter where I looked I couldn't find the right size. So with a cheap Chinese 14mm and a hand file, I set about making a 'fitted' wrench.
The reason for the seizure; storage in a damp or humid environment. There were tell tail signs of water condensation internally.
The rings had corroded into the ring lands. The wrist pin was quite stuck making extraction slow and difficult. Many heat cycles and a screw press finally removed it.
After cleaning up the lands and giving a quick break to the glaze in the cylinder the original piston would still be usable. There was some staining on the barrel however, the piston and barrel were in spec. The whole engine should be redone but not having tools on hand, the extra cost on an unproven bike and the overall time I decided to make it work.
The bore was cleaned up, the wrist pin was replaced and a new set of rings installed. Oil flow to the big was tested, as was oil flow to the rockers. The engine has 4700 mile on it so we'll see how it sounds and runs for a bit before a big teardown.
Here are a few pictures of the original pistons before it was cleaned up and reused.
One of the fun things was hand making the paper gaskets needed to keep this a simple job. Yet a task to challenge oneself; what would one do in the middle of nowhere...
Reassembly was mostly straight forward. The biggest trick was getting the pushrods into the proper positions and keeping them there. Even then after checking and testing and double checking they still were tricky.
Once the head was installed it needed a quick check to make sure the rockers were getting their fair share of the oiling.
Subscribe to:
Posts (Atom)