Velocettes are amazing machines and for anyone not familiar with the marque I highly recommend looking into this historic company. From their development of the first foot change gear box to the patent for the first dual set. These hand built motorcycles have won TT races and set the world record of over 100mph for 24 hours!. All this from a family run company that span from 1904 to 1970ish.
In this blog I give a brief run on the replacement of my 1963 MSS fork leg. From the factory the lower casting is soldered onto a tube to make up the lower leg assembly. As time marches on the joints can weaken and begin to leak. Crash damage can also weaken these joints which is what I suspect happened to my right fork leg. A temporary repair with JB weld worked to keep the oil in for a few years. But forces from the brake carrier support pin and general shock from the suspension caused the leg to crack more; a final sign that all is not well.
To the rescue, Ed Gilkison found a perfect patina match for me! So in a period of about two to four hours the swap can be done.
the first step was to support the weight to the front end as the wheel and fender need to be removed. Two small blocks of wood were used under the center stand to give extra height. You can do this easily by carefully tipping the bike to one side and sliding a block under the raised center stand. Then carefully turn the bars to gain some leverage and in the same fashion add a block to the other side. A good idea is to strap the center stand so as to keep it from folding up as you tilt the bike. To remove the weight from the front wheel I use a modified car jack; raising the front until the rear wheel just touches the the ground.

Once this was done I could begin to remove the brake cable from the brake lever and the pivot arm in the carrier. All this need to be done so as to remove the carrier for cleaning and inspection.


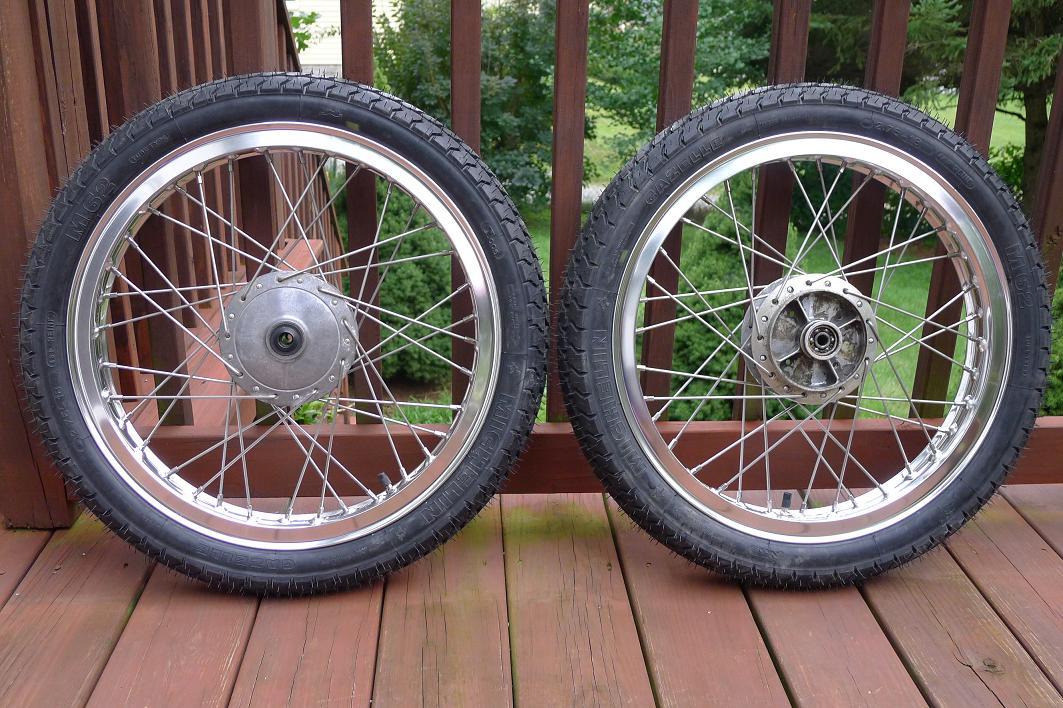
I had to turn the forks to one side making it easier to slide the wheel out and such. A quick inspection of the brake showed the need for a cleaning and de-glazing this might explain the relaxed performance of the original shoes!

Once the wheel is clear the forks can be drained and the fender removed. The fender is interesting as when its removed the forks will twist to the right about 20* degrees; Velocette design has the spring twist lock onto the lower fork leg and an upper collar that slide into the lower brace. When the bolts are all out of the bracing - they twist.


At this point I removed the top cap to aid the draining of the oil. I've been running 20w50 in them this season we'll see how it works out. Also, the top cap does two functions if you've not familiar with British type forks. The top threads into the fork tube to attach it to the upper triple brace and then the damper rod is threaded into the base to the cap.

Now the lower triple brace pinch bolt can be removed and a wedge used to aid in the release of the fork assembly.

At this point of the operation things became strange to what I remembered when I last assembled the forks. The nut securing the damper assembly on the fork leg base would turn but not quite come off. Ok, I could deal with that later which turned out to be a few minutes with a small file removing the burs. The rubber fork shroud spacer fell apart but I made a few of them out of old inner tubes last time around. If you need to make some use a ball point pen and trace around the fork shroud, then cut out with sharp scissors. Also, at this point you should be able to grasp the fork leg in one hand and the tube in the other to remove the bush from the top of the fork leg. A quick sharp pull up several times should 'drift' the bush and seal out. In my case the circlip that secures the lower bushing onto the fork tube let go leaving the whole lot in the tube!

After pondering what would be the best approach to remove the seal and both bushes, a few hours of solvent application (read Robert Welsch- Busted tractors and rusty knuckles for proper solvent usages) was all that was needed. A blind bearing puller of 1"-1/4 inch worked perfect! No damage to any components , only light filling needed to be done to the top bush.


To keep this from happening again the chamfer on the bottom bush would need to be accentuated. A little lathe work finished this up nice. I light tap with a brass drift secured the ring clip into the groove. I know the clip will work perfect because I forgot to install the upper fork bush and seal BEFORE putting the lower bush and clip back on.


from here the whole lot could be re-assembled. I made up a 3/16 square stock brass punch to tap the bush down in the fork leg. Then the fork seal was next, using the same process to tap the seal into place. Now the whole assembly can be reinstalled. I measured up the distance in between the upper inside of the top triple and the bottom triple, then tapped down the collar that locks the spring.

The rubber seal for the shroud can be installed and the fork spring shroud installed. Now the fun part is setting up the damper rod. I found that using a coat hanger with a bent loop was better than using wire or string.
A point to keep in mind is making sure that the top of the fork tube is up against the upper fork triple. It will be difficult to start if there is not enough threads. I found it some what tricky so I used a wedge on the lower triple to help the spacing and when it was close enough, removed the wedge. The lower pinch bolt was temporarily tightened so as to hold the fork tube from rotating as the top nut was tightened. But before tightening the top cap I added 120cc of 20w50. The book calls for 71cc and only scramblers use 120cc. I'll have to double check the old notes

From this point the install was the reverse; install fender, wheel and brake carrier, brake cable and give a nut/bolt check see. ok, its late, I'll proofread this later.


 Also had a 10TT9 on the shelf for a spell. I picked these up for the MAC projects but there are three different sizes in my collection and they all are in various states of completeness... aka missing bits or wrong bits.
 First thing first, checked the bore of the KSS head intake. It was running 1 and 5/32 open. Next checked the 10TT9... Bingo a match! Found two bolts to connect the two after a little more digging. It looked as if a BMW /2 carb spacer block would fit; and it does.
 Well fitting things that were hanging around the shop seems to work so i kept with it. I had two old valves from the MSS engine that Ed rebuilt for me back a few years. Plopped them in and yup... they would (or could) fit with some work. The intake was real close. The exhaust was not so much.
 Even a used BMW R100 valve guide showed some encouragement towards making things happen. So all in all, nice that its moving forward and just with things hanging around the shop...


 Once this was done I could begin to remove the brake cable from the brake lever and the pivot arm in the carrier. All this need to be done so as to remove the carrier for cleaning and inspection.
 I had to turn the forks to one side making it easier to slide the wheel out and such. A quick inspection of the brake showed the need for a cleaning and de-glazing this might explain the relaxed performance of the original shoes!
 Once the wheel is clear the forks can be drained and the fender removed. The fender is interesting as when its removed the forks will twist to the right about 20* degrees; Velocette design has the spring twist lock onto the lower fork leg and an upper collar that slide into the lower brace. When the bolts are all out of the bracing - they twist.
 At this point I removed the top cap to aid the draining of the oil. I've been running 20w50 in them this season we'll see how it works out. Also, the top cap does two functions if you've not familiar with British type forks. The top threads into the fork tube to attach it to the upper triple brace and then the damper rod is threaded into the base to the cap.
 Now the lower triple brace pinch bolt can be removed and a wedge used to aid in the release of the fork assembly.
 At this point of the operation things became strange to what I remembered when I last assembled the forks. The nut securing the damper assembly on the fork leg base would turn but not quite come off. Ok, I could deal with that later which turned out to be a few minutes with a small file removing the burs. The rubber fork shroud spacer fell apart but I made a few of them out of old inner tubes last time around. If you need to make some use a ball point pen and trace around the fork shroud, then cut out with sharp scissors. Also, at this point you should be able to grasp the fork leg in one hand and the tube in the other to remove the bush from the top of the fork leg. A quick sharp pull up several times should 'drift' the bush and seal out. In my case the circlip that secures the lower bushing onto the fork tube let go leaving the whole lot in the tube!
 After pondering what would be the best approach to remove the seal and both bushes, a few hours of solvent application (read Robert Welsch- Busted tractors and rusty knuckles for proper solvent usages) was all that was needed. A blind bearing puller of 1"-1/4 inch worked perfect! No damage to any components , only light filling needed to be done to the top bush.
 To keep this from happening again the chamfer on the bottom bush would need to be accentuated. A little lathe work finished this up nice. I light tap with a brass drift secured the ring clip into the groove. I know the clip will work perfect because I forgot to install the upper fork bush and seal BEFORE putting the lower bush and clip back on.
 from here the whole lot could be re-assembled. I made up a 3/16 square stock brass punch to tap the bush down in the fork leg. Then the fork seal was next, using the same process to tap the seal into place. Now the whole assembly can be reinstalled. I measured up the distance in between the upper inside of the top triple and the bottom triple, then tapped down the collar that locks the spring.
 From this point the install was the reverse; install fender, wheel and brake carrier, brake cable and give a nut/bolt check see. ok, its late, I'll proofread this later.


 Pictures of a mostly original 1969 BMW R60US in for service work at Duncan's Beemers. Its quite a stunning example of a preserved old bike. The seat, grips, and extra deep sump are pretty much the only non- stock items.