Saturday, December 28, 2013

Spirits in a material world/ Trinity Automotive

Trinity Automotive

One of my favorite hangs when out an about in town or needed to get a state bike inspection, sadly now closed for good since 2020. Always was awesome to hang with you Bill.

Thursday, December 26, 2013

Take it apart, put it back together

Having a few days free due to the holidays can help get things out of the way and let the mind prepare for the spring season.  On the MSS the headlight stopped working on both the high and low beam at the end of the season.  The MSS winters on the pathway to the basement ice box and each journey brings forth the reminder to 'get on to it' for spring chores.  
After giving the kick starter a shove to change the piston set I got onto looking at the bulb. Both filaments were ok which got me to believe that there were gremlins in the wiring.  Though the headlight harness connections needed a tending to no gremlins were found. It seems as if the bulb had the short circuit within the base. 
A few searches on the interweb pulled up either bulbs of faraway lands or exorbitant prices; I'd converted the MSS to a 12volt Halogen but wanted to retail the original British Pre Foucs base.  Since the filaments tested fine, it seemed that all one had to do was de-solder the base and re-solder.  This all worked out just fine but a cool discovery was made...  I could use a inexpensive H4 bulb of the same wattage, remove it from its base and solder it into the old BPF base if need be.  A good thought if one was to be stuck on the side of nowhere and needed to re-create the wheel in 3 hours. 
later in the week I dug back into the scrambler.  The next chore to tackle was the rear axle.  I'd been soaking the outer bolt section for a few days.  With a socket tapped on and a large breaker bar, the axle shaft broke free and was able to be worked back and forth until it had smooth rotation.  The six nuts that held the hub onto the brake drum  were stuck. With a different approach; compressed air and an impact hammer made short work of them.

The magneto had to come out so give grips could be used on the lower head bolt socket.  It generally came apart easy to reveal more work will be needed.  Almost no polarity was felt in the body and the grounding brush was MIA.
On the head side of things, the valve guides are a tad sloppy.  This caused the more wear on the seats than I would have liked to find.  On the whole, the heads really need a full service but having a seat cutter on hand helped to having a go at it.  the exhaust was very much out of round and extremely pitted.  Now educated-  there really is no point it trying to cut back the seats with sloppy guides.
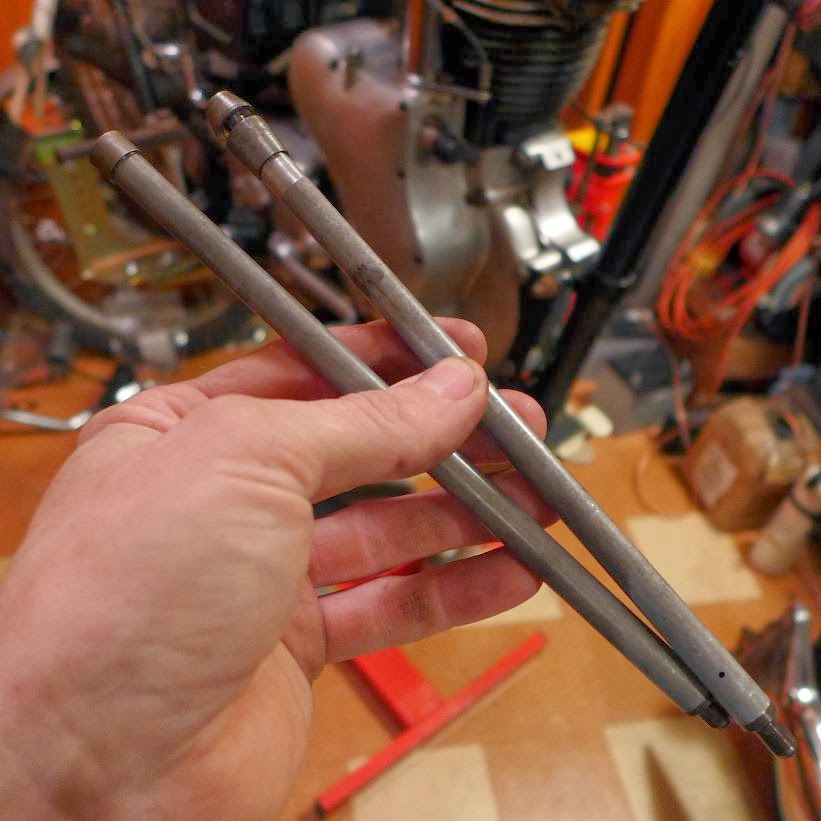
Not able to find a valve grinding machine locally and well knowing this needs fresh valves, I had a friend cut the valves on a lathe.  After using some bluing on the faces they seems not too far off.  A quick run with some fine lapping compound they were good enough to see if some compression was restored.
With the old head gasket as it was, everything was put back into place and ready to kick over.   The valves needed a minor adjustment and the compression gauge installed we were getting a bit or resistance and 60psi on the meter.  In fact, the resistance was as good as my other Velos. If was a bloke in England, knowing well on that the machine needed to be ready for work tomorrow, it would have been ready to go.  But the head needs better service and a more professional person to view the seats.
Ready for compression test


Removing valves again

The last thing for the day was to pull the barrel and piston. I'd been both looking forward and holding off on this job.  Not wanting to disturb the rings and allows foreign matter into the crankcase I'd been holding off removing the barrel. But there probably is no better time to visually inspect the piston and barrel. The plus would be to inspect the conrod feel and play.  So far everything looks and feels way better than the head.


Tuesday, December 17, 2013

1967 Velocette Scrambler, heads off

       More snow for New England means more time to retreat into the workshop.  There's something about the falling snow that locks out the sound of the world and allows me to focus on what is important to my being. Yes, clearing the walkways and drive are important to my overall safety. But to experience what this engine feels like in the lightened late model scrambler frame, to hear it on the pipe... that is a motivator that moves my soul.
       When I walked away from the Velo last night I was still down to removing the last stud.  That stud was seized in the socket on the block.  What could have been an easy task turned into a challenge of heat, oil and vice grips. By morning one stud was out the other needed to wait until both the timing cover and magneto came off.   Then came the snow....
       
    With Snow comes school delays, closings and early releases. Today it would be an early release so Someone needed to be here for when the monkey came home. I'll take one for the team and hang around....  down to the workshop to wait.   
    After giving a couple cups of coffee and music to kick in I was settled into the process of removing the timing cover. I'd been curious to see what might be going on inside; there were two different push rods in this engine. One would be what is in the MSS engine, the other I suspect is from a thruxton style engine.  With the MSS you can adjust the rockers by installing a feller gauge between the conical cup on the push rod and the push rod it self.  With a thruxton push rod setup you need to remove the timing cover and use a feeler gauge at the cam and follower.
    The timing cover came off after removing the shift lever. On the whole everything looked pretty decent, no broken teeth on gears or dirty cases internally.  Everything looked ship shaped.  I'd made a gear puller for the magneto gear a few years back, with a quick pop of the timing gear came.   From there you need to use a modified wrench to loosen two of the three magneto housing bolts.  I'd made one for the MSS but need to make a few more for each tool kit. its quite like a crows foot style but my personal one is welded and ground down 11MM wrench.  
    With the magneto off the vise grips had plenty of clearance.  Heat, spray and beat; out came the stud and the head was off.  A victory as no head stud needed to be cut!  Its nice to have made it this far, with a quick inspection it looks as if the exhaust valve has a small nick in its face.  I sprayed some penetrant on the valve faces.  hmmm, the fluid level goes down quickly and flows out the exhaust port.  A good size puddle on the floor proves that there might be a leak in the head.  ok, that should explain the lack of compression.  The next task at hand will be to free up the rear axle, more heat and beat in the future. 


Monday, December 16, 2013

Velo Scrambler tear down

A bit more cleaning and inspection has been going on to find what needs attention on the 67 Scrambler. The biggest fore front problems are lack of compression, fork issues, two oil pump screws broken in the case and heavy corrosion on the rear wheel. Ed G suggested to continue the field strip and inspect everything.

After the initial inspection it seemed as if a mouse had packed his winter foraging into the straight pipe causing a large nut to wedge into the exhaust valve.  The tear down to inspect the vales and seats brought forth a few more surprises. Though, there really are no surprises when working on old motorcycles, its all about greeting the next un-experience challenge. 

Cool coil spring conversion

Two different push rod units?

 It will be interesting to see what is under the timing cover and why the last person in the engine might have needed two different push rods.  With the rocker box removed the head revealed a clean coil spring conversion. Only a tad of wear was seen on tip of the intake valve stem.  In the line of thought provoking punches were the head bolts; three refused to come out easily.

The velo design has four threaded stud sockets which thread into the top of the engine case. Into these four sockets thread the four barrel head bolts. The head bolts have slots cut for installation simply by screwdriver. I've heard of horror stories of seized head bolts needing to be cut with a short section of saw blade.   In this instance, I was greeting with two sockets that backed out of the case with the head bolts.  To over come this they were screwed back in, heated and sprayed with a penetrating/oil mix.  I locked onto the socket with vice grips and used a impact to get one of the studs spinning.  The second one will have to wait until the magneto is removed to used the vice grips.

Sunday, December 15, 2013

1967 Velocette Scrambler

About a week ago one of the New England Velocette Owners decided to put up for sale his 1967 Scrambler. He had purchased it back awhile ago from a friend of his who was ill and needed to sell. It seems that it had a previously easy life with low miles and only a few downs; the right side controls had been replaced, a few dents in the oil tank and the forks had been removed and chrome plated. The old gal needs some attention as she has not run since 1981 but the plus side of all this is that its relatively complete with only a few mods or missing parts.

Having a soft spot for old machines that need a helping hand I gave the owner a call and after a short conversation made arrangements to be the next care taker.   Within a few days it was delivered just before a predicted snow storm.  She was moved right into the work shop and as the first flakes a snow fell I was already deep into learning what this old Velo had to teach. A history lesson in the passage of time, new thoughts as to how best approach preservation and repair.
Its always feels like an archaeological dig when learning a new machine. Something different is unearthed in every move. Another bit of history and mysteries unfold as each event brings forth more intimate knowledge.

On of few known problems was a lack of compression which may (or not) be related to the straight pipe exhaust. It seems that a loose nut was causing the exhaust valve to hang open.  A very industrious rodent had packed the pipe for winter storage.  As the pipe was removed a shower of blacken bird seed piled up on the floor. Later examination shows that the valves had 'tangled' from this.

There were a few missing bolts here and there. One of the transmission case bolts was missing its threads. The most thought provoking missing bolts were on the oil pump unit.  Two screws were no where to be seen. I've yet to check and see if they might have been broken off or vibrated out.  Though, I doubt the vibration made them fall out. Hopefully the oil pump was not disturbed as this is an interference fit in the case and must be well heated befor removal.  Possible damage to the case results to lack of adequate heating.
-
There was a fair bit of corrosion on the rear wheel and axle.  I'm not sure how much of a problem this will be in either finding a used wheel or repair via rim replacement.


Sunday, October 6, 2013

European Motorcycle Day 2013 at the Larz Anderson Museum of Transportation

Rush, Rush, Rush.  Its a mad scramble to get out the door and on the road today!  My head is a jarbled contusion of fixed events, each one a remedial pre-inspection chore out of sequence.  Each thought, another process that must be completed for a successful day's events!   Stop-  back it up and slow it down.  This was what would be a day of mixed highs and lows; the highs, a day filled of motorcycles and friends-  the lows?  Well that would be fleeting moments never to be captured fully for a good transmission of the twenty first show.

Lliam Burke flew in from California a few weeks earlier to help ride one of my Velos to Larz.  However, he would be relegated to riding the BMW hotrod as there was very little time to prepare even one Velo.  My other good friend Mike Suss came out that morning to ride into Larz with us.  This would be Mike's first ride to Larz.Both Mike and Lliam were ready and waiting roadside while I was preparing the MSS for a quick sprint for fuel.  The BMW was also needing fuel so no haste was spared as the MSS tore up the drive to the street.  In a quick, abrupt stop for Mom's photo I slipped the clutch a few seconds only then to tear down the street and make a quick fuel stop.  It was already 45 minutes later than I wanted to know about.

The MSS was the first bike into the pump and not needing much in a way of fuel, I rolled it up and out of the way so Lliam could run the BMW next to the pump and put it all on the same tab.  For some reason this seemed to be a time saver in my mind-  though, whether of not it really wasn't important. The day would prove that there is always time to do all that you want.

The ride was generally run route into Brookline via Route 9 from the West.  The interesting thing about Larz and the Route, as you near, convergences happen. Bikes that you don't normally see filter into the traffic around you. And even if in mind its not normal for you to see Moto Guzzi MkIII while  riding a 750 bonneville, all seems to be building to a Grand entrance on Larz.   Here are a few images that caught my eye.